
Next Lesson: 10.1 ChatGPT for Photographers
Apps from This Lesson
Retouch4me Plugins
Get 20% OFF All Retouch4me Plugins
Download my Photoshop action
9.3 Retouch4Me Extended Setup
The Extended Retouch4me Setup includes such plugins as:
- Skin Tone
- Portrait Volumes
- Eyes Bundle
- White Teeth
- Clean Backdrop
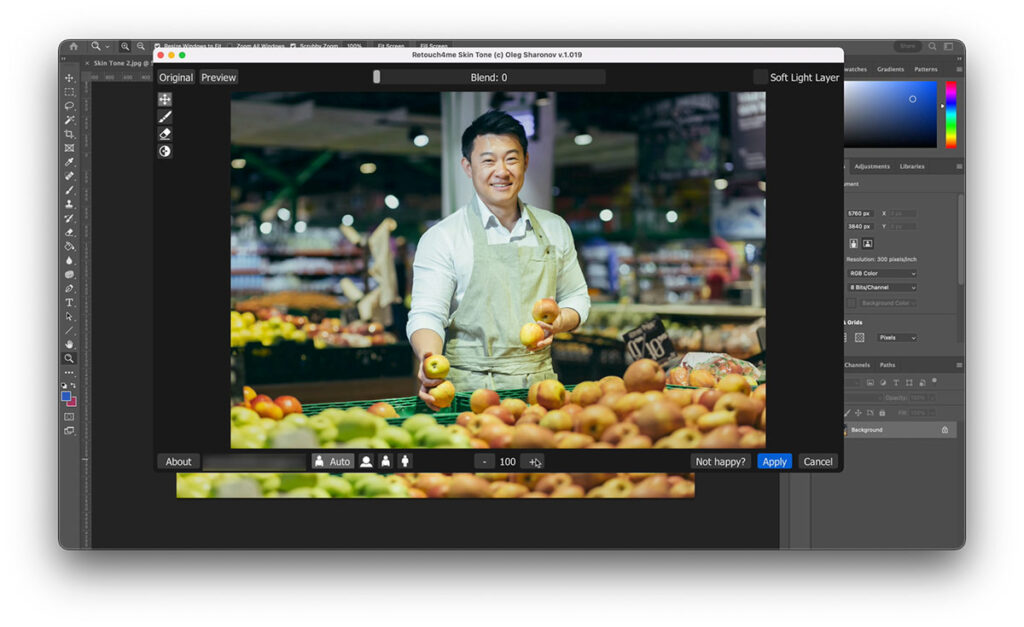
Let’s start with the Skin Tone plugin since you already saw it in the previous lesson. In my company, we use it primarily for two tasks:
First, sometimes Heal and Doge & Burn plugins are not enough to fix the skin issues. Here is a typical example.
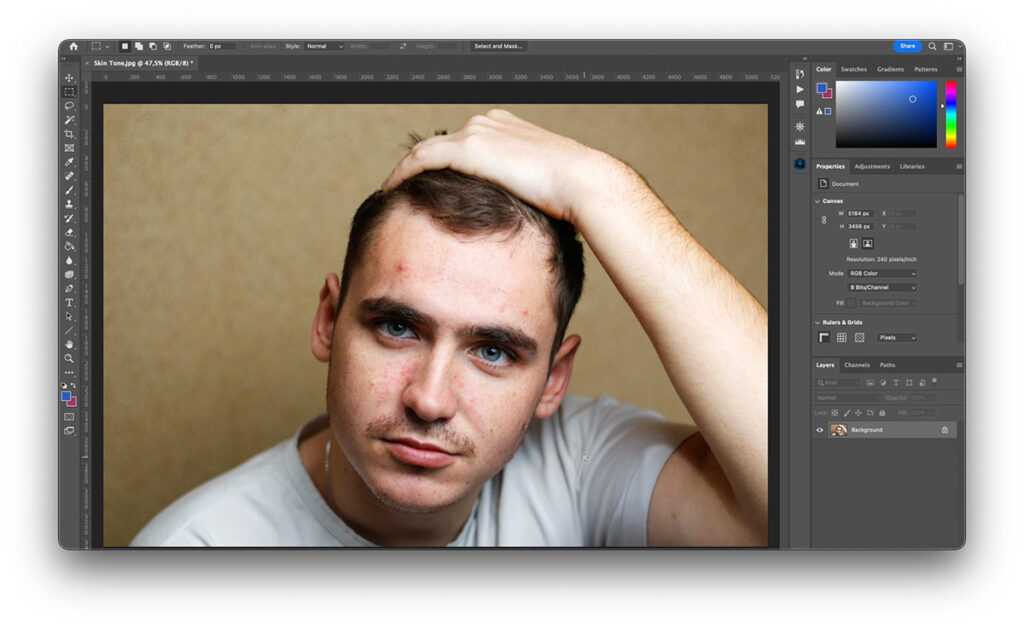
I’m going to run Heal plugin to remove all the pimples. The result is nice; now, let’s process it with Doge & Burn to smooth the skin.
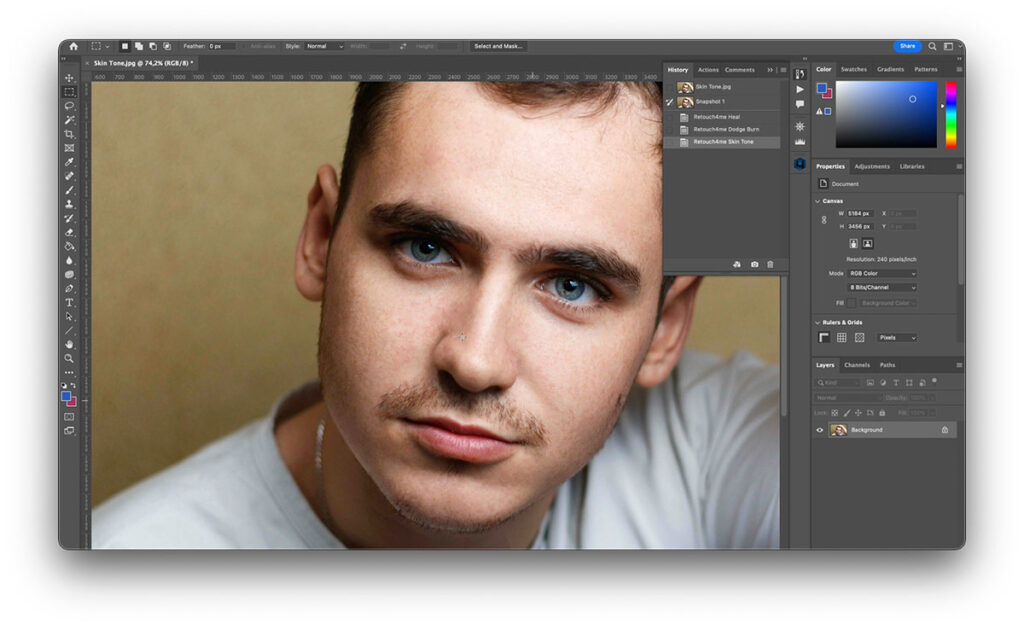
The retouched portrait looks much better, but we still have some areas of reddish skin. We can fix it with the Skin Tone plugin.
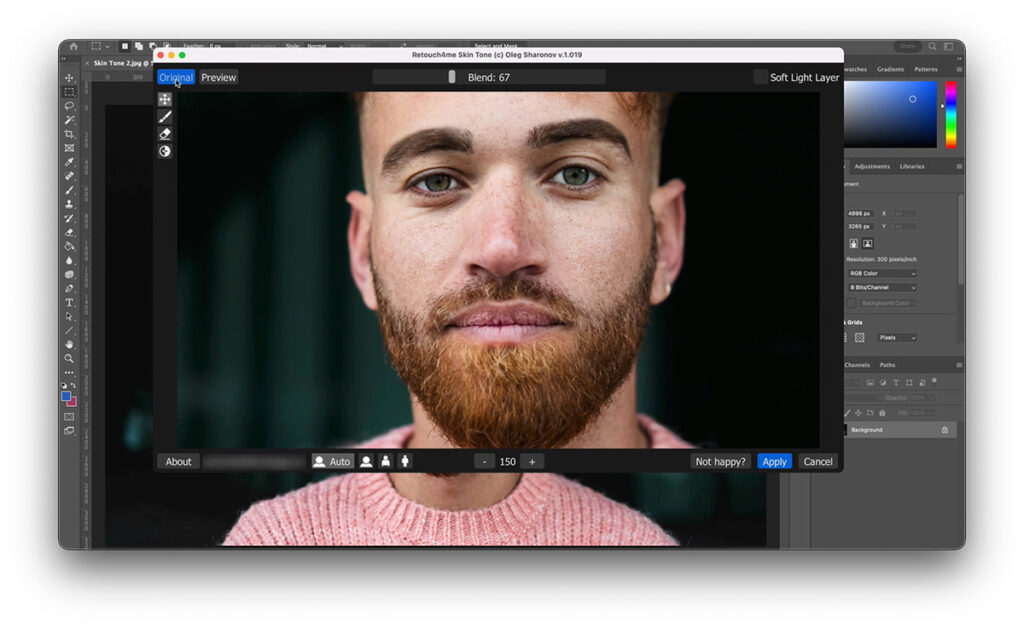
The Skin Tone plugin works pretty fast; it has only one setting – the Blend slider that regulates how even the skin tone will become.
Usually, we use values from 40 to 100, and we rarely go beyond it because, with higher values, you can easily get unnatural skin color.
Let’s compare the original image and the final retouch. Yeah, looks good; I love this result.
The second use case for the Skin Tone plugin is when you need to even out particular areas of the skin. For instance, here, I would reduce the red color on the nose and ears.
As with other Retouch4me plugins, you can adjust areas of impact with the brush and eraser.
Also, sometimes, we use this plugin to get rid of skin tone color cast.
For instance, a green color cast might appear when you make portraits in greenish environments, such as forests or grass fields.
In some cases, the Skin Tone plugin can remove or reduce such color cast.
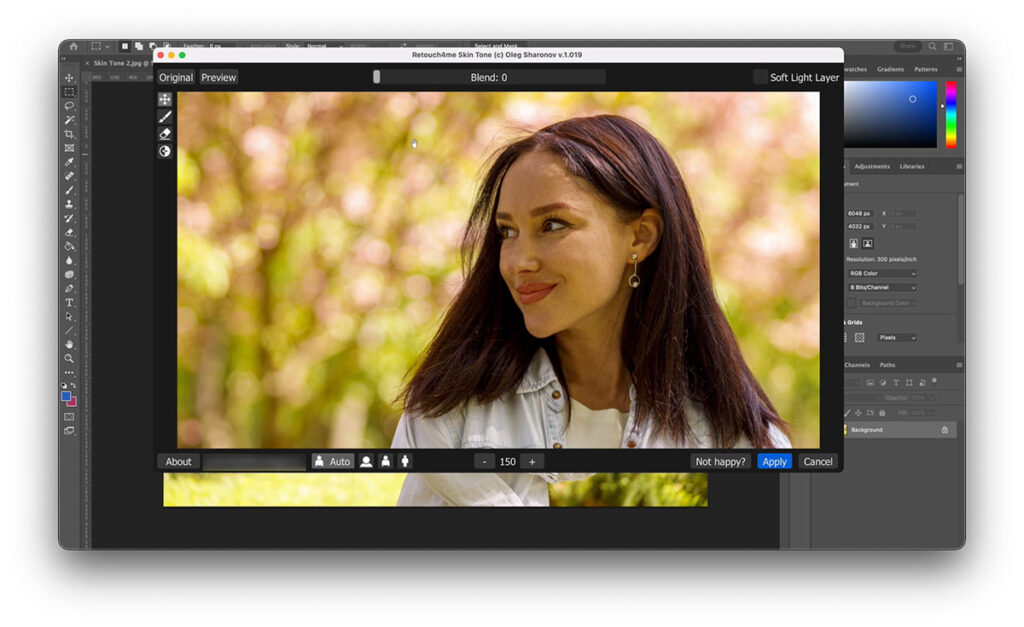
If you have various light sources in your image, they might also create color casts. The Skin Tone plugin can help you to unify skin color, making further adjustments easier.
The Portrait Volumes plugin enhances portraits by increasing depth and dimension. We use it when we need to add a visual accent on eyes, lips, and facial contours.
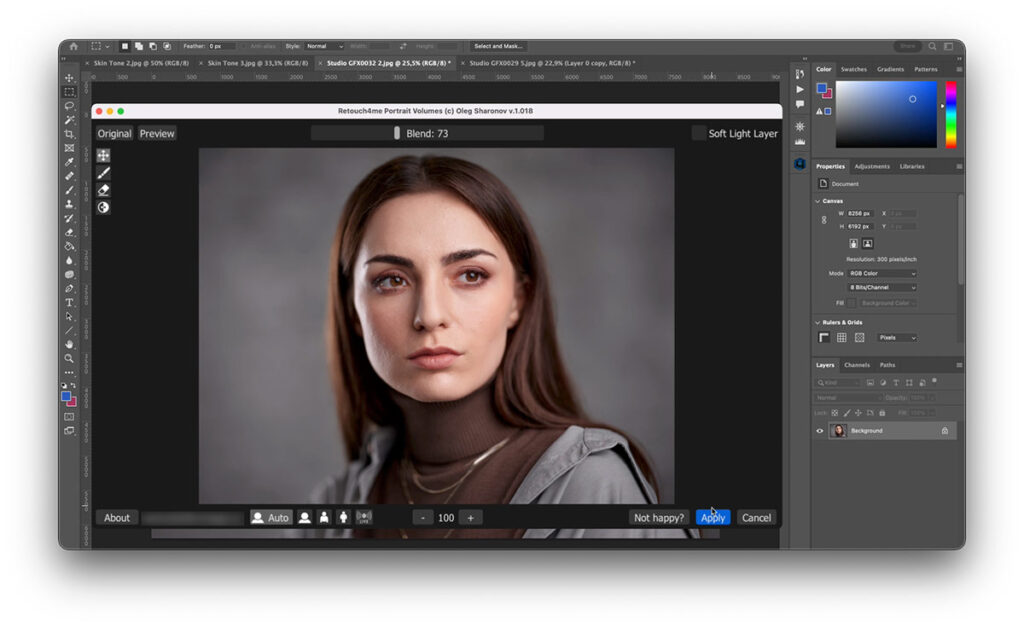
It’s a pretty fast plugin that is safe to use for batch editing.
Although it’s important to keep the Blend value in the range from 25 to 90. Otherwise, you can get an artificial look.
Let’s process one more image. Again, just don’t go higher than 90, and you’ll get volume and a natural look.
When we need to emphasize eyes in the image, we use two plugins from the Eyes bundle: Eye Brilliance and Eye Vessels.
The Eye Brilliance plugin enhances eyes with Doge & Burn technique, making them deeper and more noticeable.
We use values from 40 to 120, but on the high values, it’s better to keep an eye on the bright areas of the images. The plugin can slightly affect them as well.
The cool thing about the Eye Brilliance plugin is that it can create a mask of the model’s eyes on a separate layer. It is really convenient when you need to sharpen the eyes only. BTW, you can also create an action that will apply Eye Brilliance and sharpen the eyes.
The Eye Vessels plugin enhances portraits by retouching blood vessels and redness in the eyes.
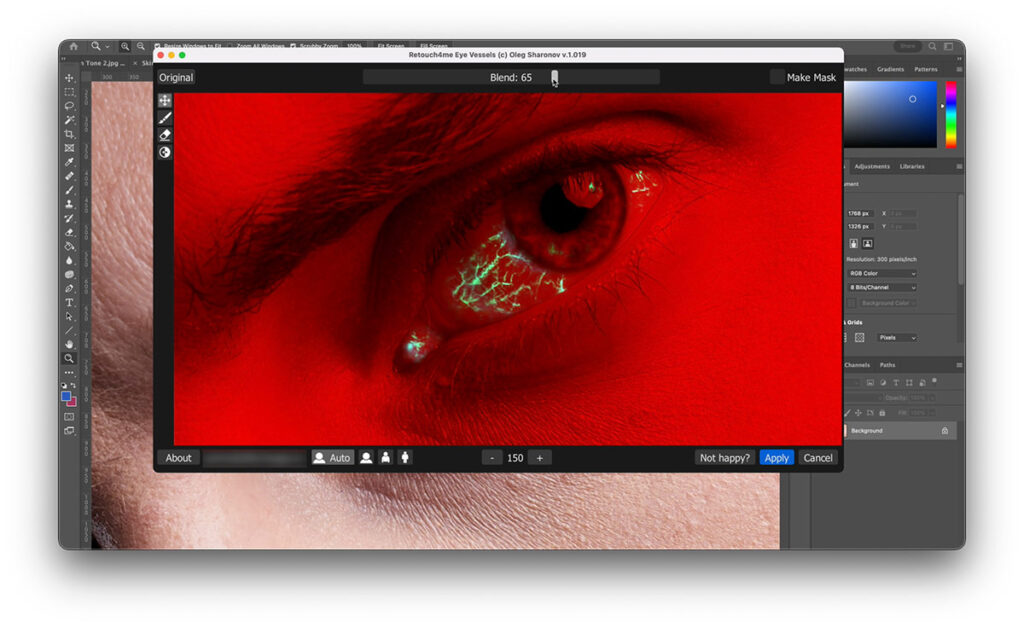
Usually, we use values from 40 to 100, and this plugin is generally safe for batch editing.
Let’s test it on an image with even more noticeable blood vessels.
Nice result without any manual correction.
Speaking of manual editing, I just hate whitening teeth since it’s one of the most boring retouching steps. Fortunately, there is a simple way to automate it using the White Teeth plugin.
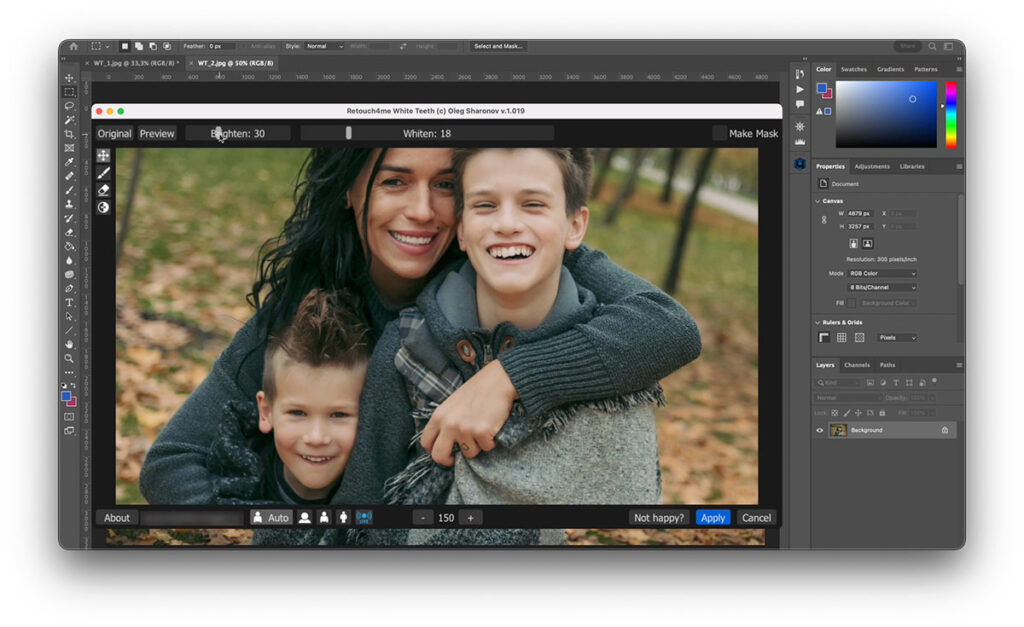
It detects teeth on an image and makes them brighter and whiter. For some reason, it’s the slowest plugin among all Retouch4me plugins. Still, it’s very accurate, and it’s safe to use it for batch editing.
The White Teeth plugin has two settings: Brighten and Whiten. It’s hard to recommend any particular values since they highly depend on your image. We usually use Brighten values from 10 to 70 and Whiten values from 10 to 80.
The best thing about the White Teeth plugin is that it works great with family portraits and other group images. It auto-detects all faces and accurately adjusts teeth.
Finally, there is one more plugin that is not mandatory, but when you need it, it will save you an enormous amount of time. I’m talking about the Clean Backdrop plugin that we use in two cases:
First, when need to clean the studio background from dirt and scrapes.
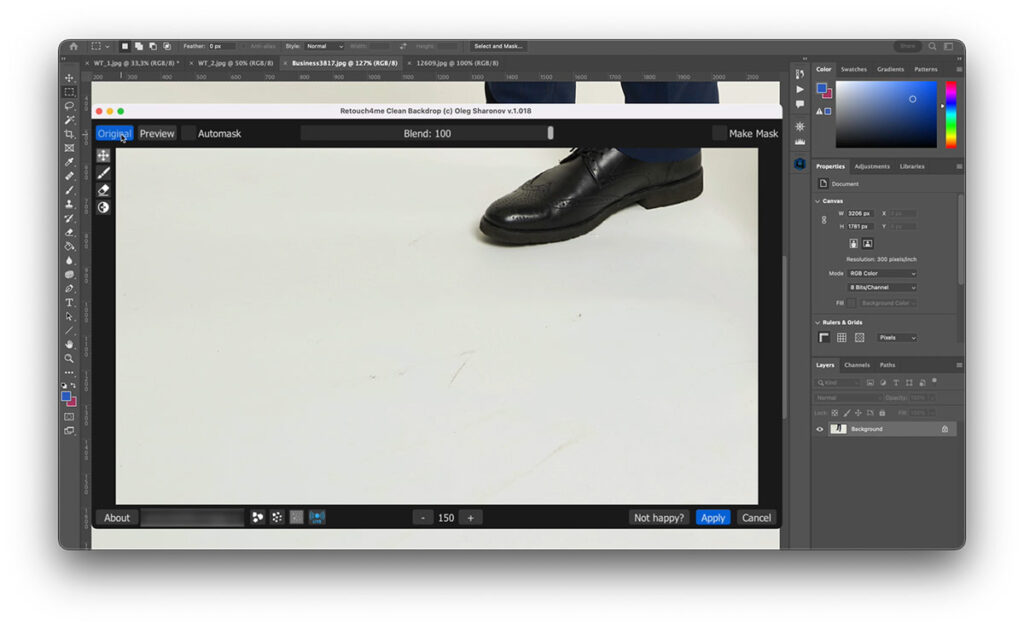
The Clean Backdrop plugin auto-detects all the dirt and cleans the background. Usually, we use the Blend values from 40 to 100, and you also need to set the proper mode depending on the type of dirt in your image.
There are three modes:
- Coarse dirt
- Medium dirt
- and Fine dirt
To clean such a background, the Fine dirt mode works better, but I recommend you to experiment with this setting.
Also, for batch editing, you need to turn on the Automask option. Otherwise, the plugin might affect objects in your image.
The second use case for the Clean Backdrop plugin is to smoothen the uneven background, like in this shot:
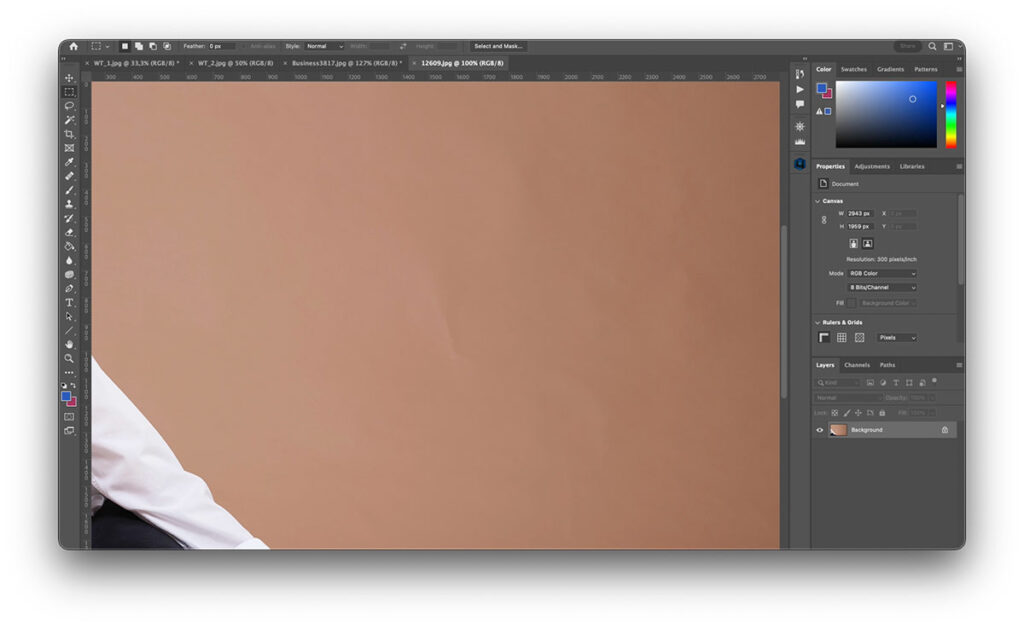
To deal with such background issues, it’s better to choose the Coarse dirt mode or the Medium dirt mode.
The plugin works pretty quickly, and with the Automask option, it is safe for batch editing.
Ok, we have finished the second part of the course, and now you know how to build an effective AI image editing workflow. We are ready for our next journey. In the third part of the course, we’ll learn how to get the maximum out of AI chatbots, how to run social media using AI-powered tools, and how to get new clients for your photography business.